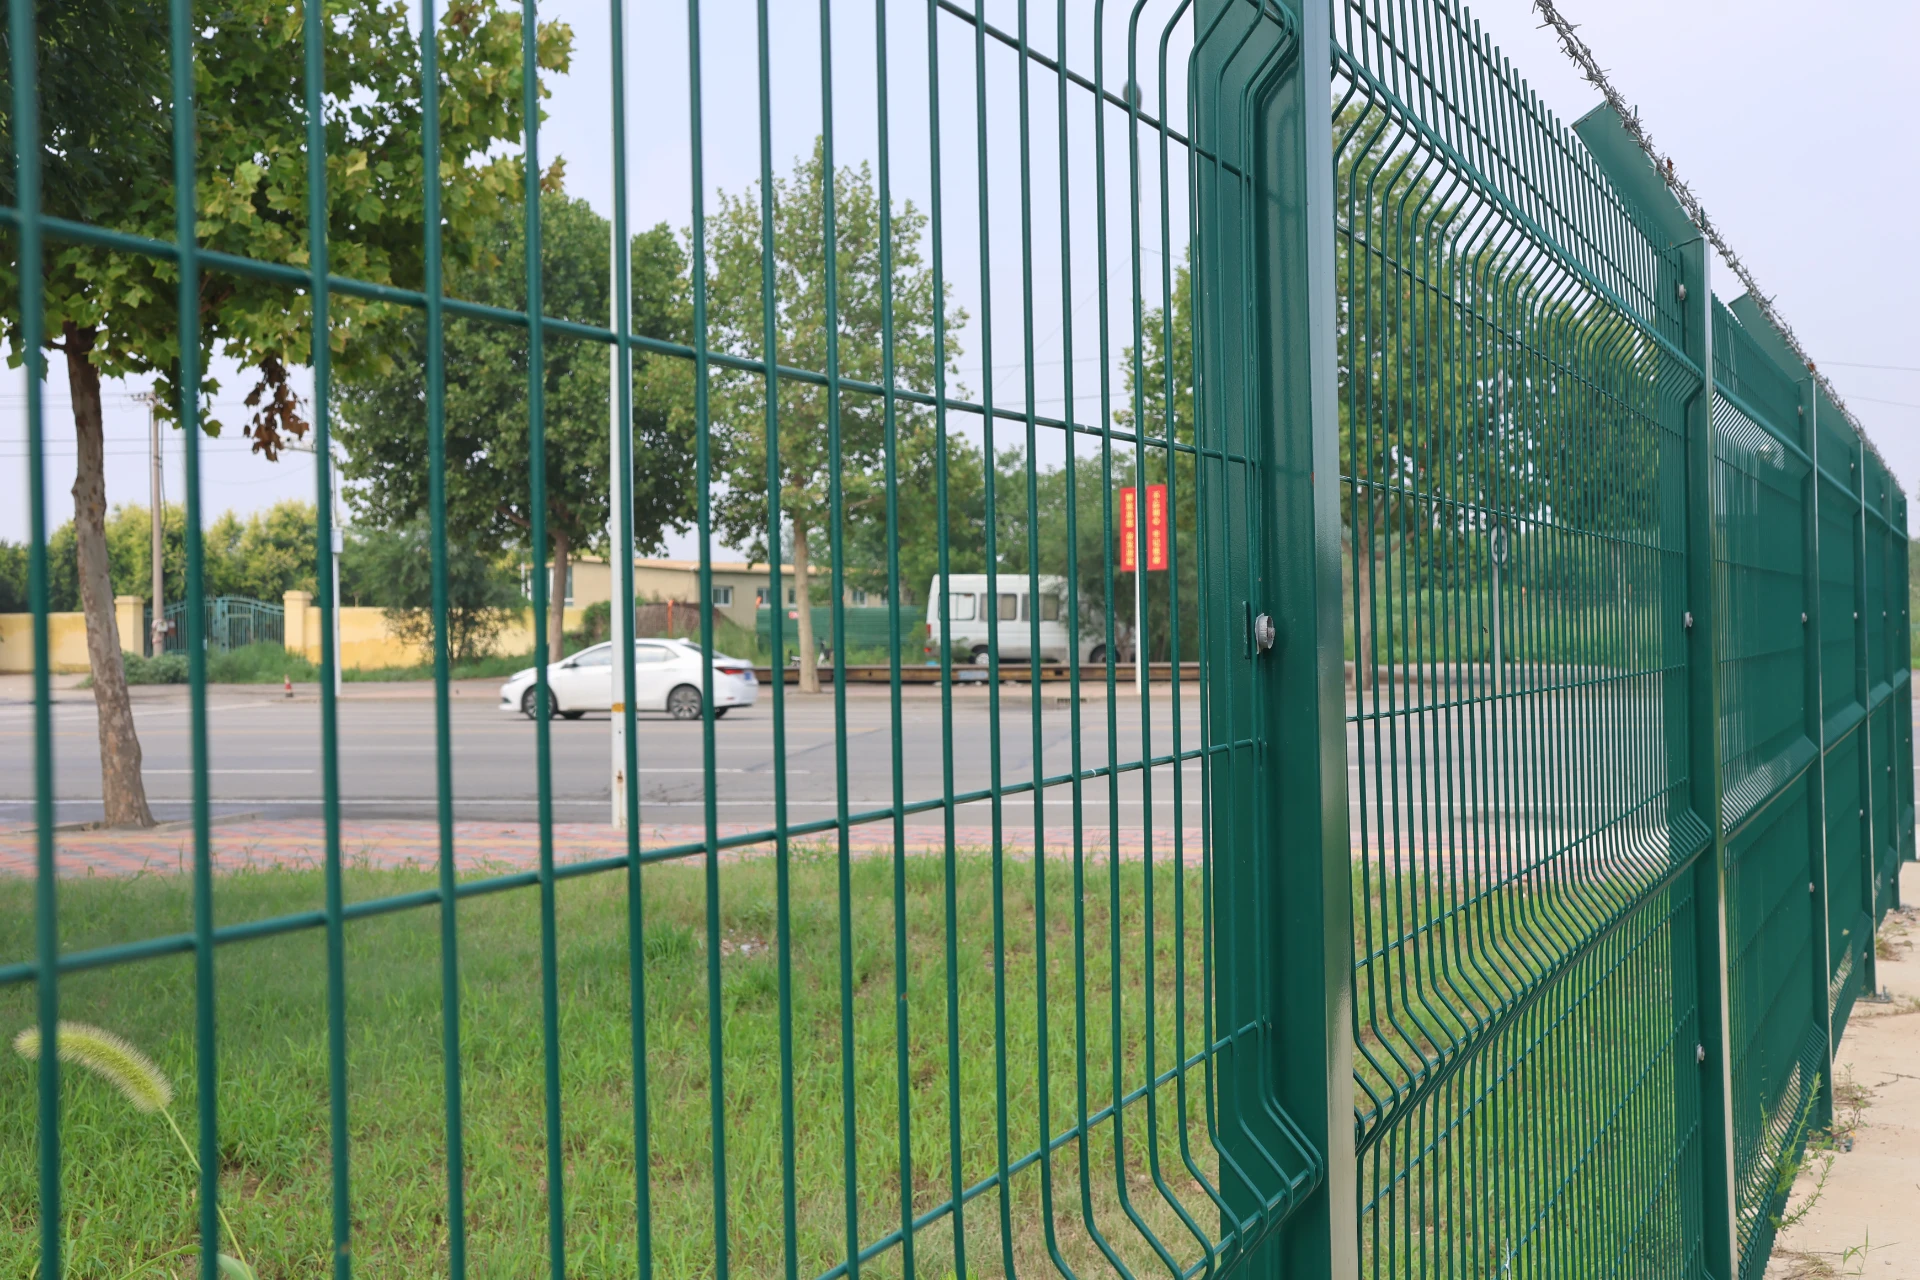
installing chicken wire
Installing Chicken Wire A Step-by-Step Guide
Chicken wire, also known as hex wire or poultry netting, is a versatile and cost-effective material commonly used in fencing, gardening, and crafting. Whether you're looking to protect your garden from critters or create a temporary enclosure for pets, installing chicken wire can be a DIY project that yields satisfying results. In this article, we'll guide you through the process of installing chicken wire effectively.
Materials Needed
Before you start, gather the necessary materials and tools - Chicken wire - Fence posts (wood or metal) - Staple gun or fencing staples - Wire cutters - Hammer - Measuring tape - Level - Gloves - Optional Tension wire for added support
Planning Your Project
1. Determine the area The first step is to decide where you want to install the chicken wire. Measure the perimeter of the area you wish to enclose, taking note of any trees, uneven land, or existing structures that could affect the installation.
2. Choose the height Chicken wire typically comes in various heights. Depending on your needs (e.g., protection against rabbits, chickens, or larger animals), choose a height that will adequately deter them. Standard heights range from 3 to 6 feet.
3. Select a design Determine whether you want a simple straight fence or a more complex design, such as a gate or a top cover if you're protecting garden plants.
Installing the Fence
1. Prepare the area Clear the installation area of debris, rocks, or vegetation. This will make the process easier and ensure a tighter fit.
2. Set up the fence posts Decide how far apart your fence posts will be based on the height and strength of your chicken wire. Generally, posts should be placed 6-8 feet apart. Use a level to ensure that the posts are straight, and secure them in place by digging holes and setting them in concrete or dirt.
installing chicken wire

3. Unroll the chicken wire Carefully unroll the chicken wire along the fence line. It's best to do this with a helper, as the wire can be cumbersome and may tangle if not handled properly.
4. Attach the chicken wire Start from one end of the fence and use a staple gun or fencing staples to attach the chicken wire to the fence posts. Make sure to pull the wire tight to avoid sagging. If you're using wooden posts, drive staples in at an angle for a more secure hold.
5. Secure the bottom edge To prevent animals from digging under the fence, it's essential to secure the bottom edge of the chicken wire. You can bury the wire a few inches underground, or use garden stakes to keep it in place along the ground.
6. Add a top support (if necessary) If your chicken wire is particularly tall or if you anticipate needing extra support, consider adding a tension wire or additional posts along the top of the chicken wire to help maintain its structure.
Finishing Touches
1. Inspect for gaps Walk along the fence line and check for any gaps or weaknesses. Reteach any areas that need reinforcement, ensuring all edges of the chicken wire are secured.
2. Install a gate If you need access to the area, consider adding a simple gate using a frame built from wood or metal posts, covered with chicken wire. This can be attached with hinges and secured with a latch.
3. Final adjustments Trim any excess chicken wire with wire cutters, and use garden tools to tidy up the area around your fence.
Conclusion
Installing chicken wire doesn't have to be a daunting task. With the right tools and a bit of planning, you can create an effective barrier that protects your garden or pets from unwanted visitors. Remember to regularly check the integrity of your chicken wire installation to ensure it remains in good condition. Happy fencing!
-
Space-Saving Chain Fence Hacks Vertical Gardening with Cyclone MeshNewsJul.16,2025
-
Innovations in Iron Nail Wire Production for Modern ConstructionNewsJul.16,2025
-
Creative Uses of Wire Netting Fence in Modern Landscape DesignNewsJul.16,2025
-
Barbed Wire Fence Innovations in Anti-Climb TechnologyNewsJul.16,2025
-
Architectural Uses of Umbrella Nails for Aesthetic Roof DesignsNewsJul.16,2025
-
Architectural Uses of Razor Barbed Wire in Secure Urban DesignNewsJul.16,2025


