Building a Chicken Wire Fence for Effective Animal Containment and Protection
Putting Up a Chicken Wire Fence A Step-by-Step Guide
If you're a gardener, farmer, or simply someone who enjoys outdoor projects, erecting a chicken wire fence can be a fulfilling venture. Not only does it help in keeping your chickens safe from predators, but it can also protect your garden from unwanted pests. In this article, we’ll explore the process of putting up a chicken wire fence, discussing the necessary materials, tools, and steps to ensure a sturdy and effective barrier.
Materials Required
Before you start, gather all necessary materials. For a basic chicken wire fence, you will need
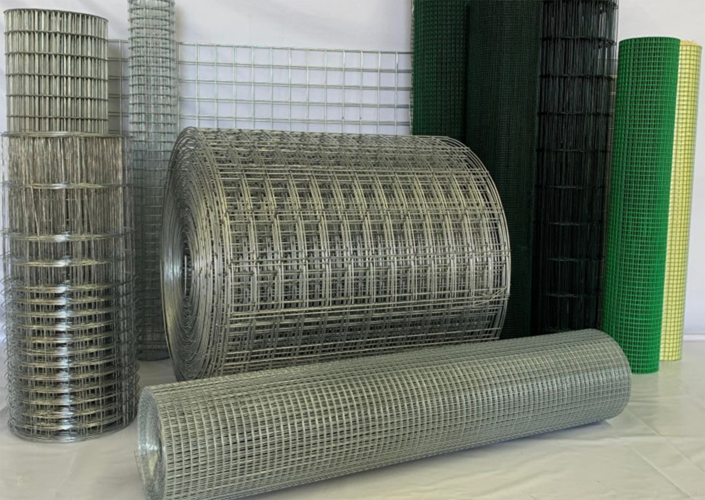
1. Chicken Wire This is the principal material for your fence. Available in rolls, chicken wire comes in different sizes and mesh openings. Choose a size based on the animals you're keeping out. 2. Fence Posts Wooden or metal posts are commonly used to support your fence. The height of your posts will depend on how tall you want your fence to be. 3. Staples or Wire Fasteners These will help secure the chicken wire to the fence posts.
4. Concrete (optional) For added stability, especially in areas with high winds or loose soil.
Tools Needed
You will also need a few essential tools, including
1. Post Hole Digger To create holes for your fence posts.
2. Hammer or Stapler To attach the chicken wire to the posts.
3. Wire Cutters For cutting the chicken wire to the appropriate length.
4. Level To ensure your posts are vertically straight.
5. Measuring Tape To accurately measure the length of the fence.
Steps to Erect a Chicken Wire Fence
Step 1 Plan Your Layout
Begin by determining the area you wish to enclose. Use stakes or spray paint to outline the corners of your fence. This will give you a visual idea of the size and shape.
putting up a chicken wire fence

Step 2 Measure and Mark Post Locations
Measure the distance between stakes to determine where your posts will go. A common spacing is 6 to 8 feet apart, but this can vary based on your specific needs and the type of livestock you are protecting.
Step 3 Dig Post Holes
Using your post hole digger, dig holes where you marked the post locations. Holes should be about two feet deep, depending on the height of your fence and local soil conditions.
Step 4 Install the Fence Posts
Place your fence posts in the holes, making sure they are level and straight. If you want extra stability, you can pour concrete into the holes around the base of the posts. Allow it to cure according to manufacturer instructions.
Step 5 Attach the Chicken Wire
Unroll the chicken wire along the length of the fence. Starting at one corner, use your hammer or stapler to attach the chicken wire to the first post. Pull the wire tight as you move along to the next post, ensuring it stays flat and secure.
Wrap the chicken wire around each post and continue along the perimeter until you reach the starting point. Make sure to cut the wire with wire cutters when necessary.
Step 6 Secure the Bottom Edge
To prevent animals from digging under the fence, it’s wise to secure the bottom edge of the chicken wire. You can bury the wire a few inches below ground level or attach it firmly to wooden boards or mesh.
Step 7 Finishing Touches
Once the wire is secured, check the entire fence for any loose areas or gaps. If necessary, make adjustments to ensure everything is taut and secure. Optionally, you can top the fence with barbed wire or additional layers of fencing for added security.
Conclusion
Putting up a chicken wire fence is a practical way to protect your animals and crops while enhancing your outdoor space. This project may seem daunting at first, but with the right materials, tools, and a little patience, you can create a sturdy fence that lasts for years. Not only will you feel a sense of achievement upon completing the fence, but you’ll also have peace of mind knowing your beloved chickens or garden are safe from harm. Happy fencing!
-
Space-Saving Chain Fence Hacks Vertical Gardening with Cyclone MeshNewsJul.16,2025
-
Innovations in Iron Nail Wire Production for Modern ConstructionNewsJul.16,2025
-
Creative Uses of Wire Netting Fence in Modern Landscape DesignNewsJul.16,2025
-
Barbed Wire Fence Innovations in Anti-Climb TechnologyNewsJul.16,2025
-
Architectural Uses of Umbrella Nails for Aesthetic Roof DesignsNewsJul.16,2025
-
Architectural Uses of Razor Barbed Wire in Secure Urban DesignNewsJul.16,2025


