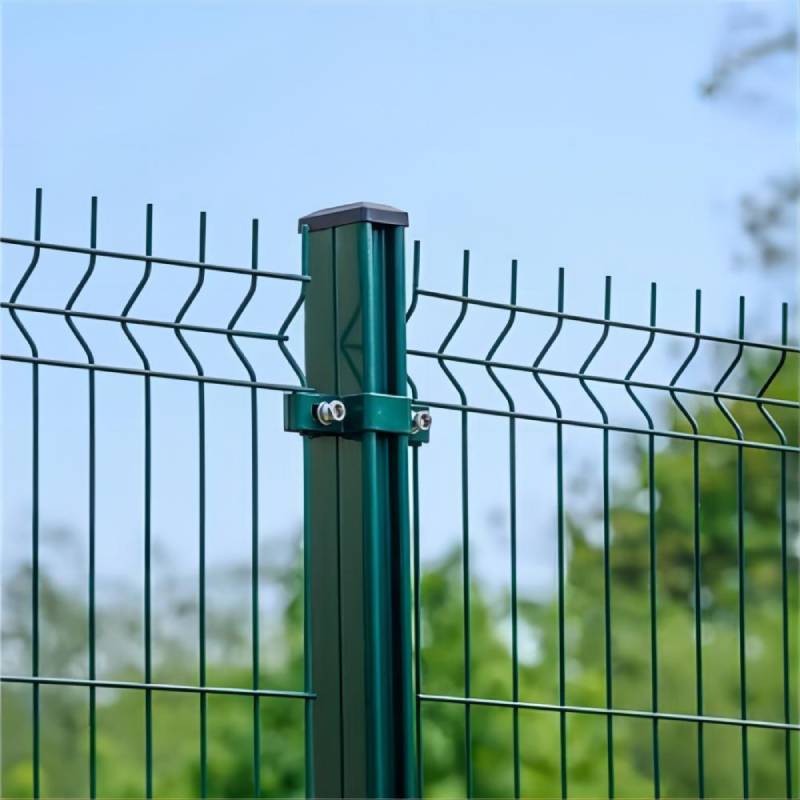
How to Attach Chicken Wire to a Fence
Attaching Chicken Wire to a Fence A Step-by-Step Guide
When it comes to protecting your garden or keeping your pets safe, installing chicken wire alongside your fence can be an effective solution. Chicken wire, with its flexible yet sturdy design, serves as an excellent barrier against pests and small animals. Here’s a step-by-step guide to help you attach chicken wire to your fence seamlessly and efficiently.
Materials Needed
Before starting the project, gather the necessary supplies. You'll need - Chicken wire (the amount depends on the length and height of your fence) - Wire cutters - A staple gun with staples (or nails) - A hammer (if using nails) - Gloves for hand protection - A measuring tape - A pair of pliers
Step 1 Measure the Area
Begin by measuring the section of the fence where you intend to attach the chicken wire. Use a measuring tape to determine the height and length. It’s essential to account for any gates or openings in your fence, as you’ll want the chicken wire to fit neatly around these areas.
Step 2 Cut the Chicken Wire
Once you have your measurements, unroll the chicken wire and cut it to length using wire cutters. It's a good idea to wear gloves during this process to protect your hands from sharp edges. If your fence is taller than your wire, you can overlap pieces rather than cutting multiple rolls. Remember to leave a little extra wire at the top and bottom for securing it firmly.
Step 3 Position the Wire
attaching chicken wire to fence

Start at one end of the fence and position the chicken wire so that the bottom edge sits flush against the ground. This helps to minimize gaps where small animals might dig under. If you're attaching the wire to a wooden or metal fence, ensure it is aligned straight and taut.
Step 4 Secure the Chicken Wire
Using a staple gun or nails, begin attaching the chicken wire to the fence. Start at one end and work your way across, placing staples or nails approximately every 12 to 18 inches. Be cautious not to over-tighten the wire, as this could cause it to bend or become misshapen. If using a staple gun, ensure the staples penetrate deep enough to hold the wire securely.
Step 5 Trim Excess Wire
After you reach the end of the fence, trim any excess chicken wire with your wire cutters. Make sure to leave some extra material to secure it to the last post or section of the fence. Tuck in any jagged edges carefully, as these can pose safety hazards.
Step 6 Final Checks
Finally, go along the entire length of the chicken wire and ensure it’s securely fastened. Check for gaps at the base where small animals might squeeze under. If you notice any areas of concern, use additional staples or create small anchors with rocks or soil to weigh down the wire.
Conclusion
Attaching chicken wire to your fence is a straightforward process that enhances the security of your space. By following these steps, you can create an effective barrier that protects your garden or pets. With proper installation, your chicken wire will remain functional for years to come, serving as a reliable safeguard against unwanted intruders. Enjoy the peace of mind that comes with knowing your outdoor environment is well protected!
-
Space-Saving Chain Fence Hacks Vertical Gardening with Cyclone MeshNewsJul.16,2025
-
Innovations in Iron Nail Wire Production for Modern ConstructionNewsJul.16,2025
-
Creative Uses of Wire Netting Fence in Modern Landscape DesignNewsJul.16,2025
-
Barbed Wire Fence Innovations in Anti-Climb TechnologyNewsJul.16,2025
-
Architectural Uses of Umbrella Nails for Aesthetic Roof DesignsNewsJul.16,2025
-
Architectural Uses of Razor Barbed Wire in Secure Urban DesignNewsJul.16,2025


