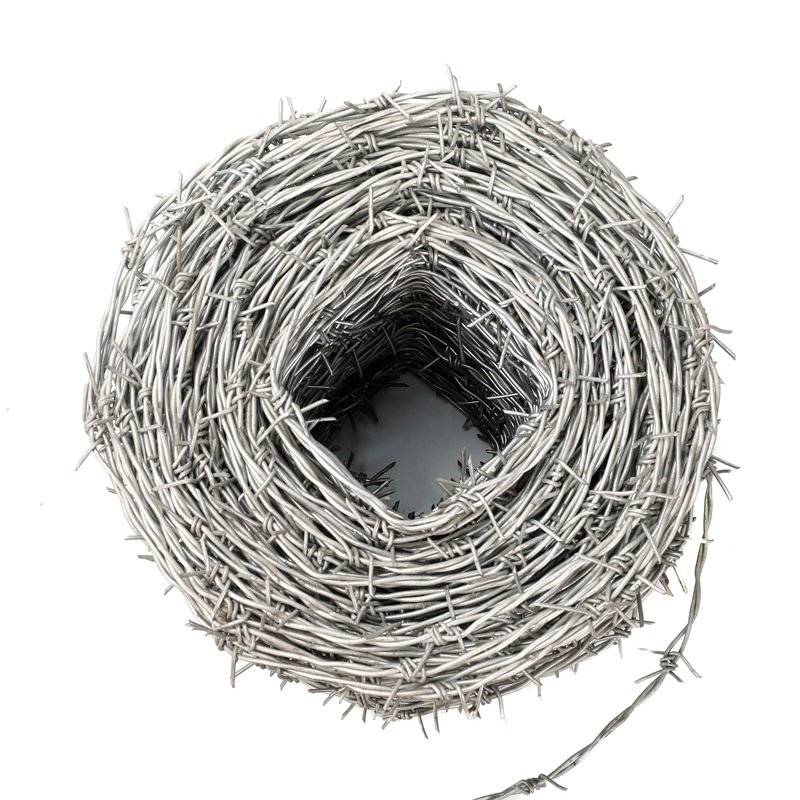
Guidelines for Installing Razor Wire Fences Safely and Effectively
Installing a Razor Fence A Comprehensive Guide
When it comes to security, aesthetics, and property delineation, a razor fence can be an effective solution. Razor fences, characterized by sharp, barbed wire or metal wraps, offer a formidable barrier against trespassers while also adding a unique skyline to your property. This article will guide you through the essential steps of installing a razor fence, ensuring that you get the best results for your efforts.
Step 1 Planning and Permitting
Before you start any installation, it's crucial to plan your project properly. Identify the area where you want to install the razor fence. Measure the perimeter and note any obstacles such as trees, buildings, or uneven ground. After determining the layout, check with your local authorities about zoning laws and regulations concerning fence installation, especially razor fences, as certain areas may have restrictions due to safety and aesthetic considerations.
Step 2 Gathering Materials
Once you have the proper permissions, it’s time to gather your materials
. The typical components of a razor fence system include- Razor Wire or Barbed Wire Ensure that you purchase high-quality wire that’s suitable for your security needs. - Fence Posts Choose durable materials, like treated wood or steel, depending on your budget and preference. - Concrete Mix This will be used for securing your fence posts. - Hardware You’ll need brackets, bolts, and other hardware to attach the wire to the posts. - Tools A post hole digger, level, hammer, and wire cutters will be essential for the installation process.
Step 3 Setting the Fence Posts
The first major step in the installation process is setting the fence posts. Start by marking the location of each post based on your planned layout. Dig holes for the posts at least two feet deep to ensure stability. The spacing between the posts will generally depend on the type of fence you’re installing, but a common distance is six to eight feet.
razor fence installation

Once the holes are ready, insert the posts, and use a level to make sure they are vertically straight. Mix the concrete according to the manufacturer’s instructions and pour it around the base of each post. Allow the concrete to cure for at least 24-48 hours before proceeding to the next step.
Step 4 Installing the Razor Wire
With your fence posts securely in place, it’s time to install the razor wire. Begin by attaching a tensioning device to the top of the posts. The razor wire is then rolled out and secured to the tensioning device. Be sure to install the wire tightly, as this not only adds to security but also ensures the durability of the fence.
As you unwrap the wire, take care to handle it cautiously to avoid injuries. Install the wire in layers, staggering the heights of each layer to create a more intimidating barrier. Once all layers are in place, secure them with wire ties to the posts.
Step 5 Final Touches
After installing the razor wire, inspect the entire fence for any loose sections or areas that may require additional support. Depending on your needs, you might consider adding additional features, such as lighting or surveillance cameras, to enhance security. It’s also advisable to regularly maintain your fence by checking for rust or damage.
Conclusion
Installing a razor fence can effectively enhance the security of your property while adding an intriguing element to its design. By carefully planning the installation, gathering the right materials, and executing the steps methodically, you can enjoy the benefits that come with this type of fencing. Always remember to follow local regulations and prioritize safety throughout the entire installation process.
-
Weather Resistance of Woven Wire and Chicken Wire Fencing MaterialsNewsJun.05,2025
-
Umbrella Nails Innovations in Roofing Fasteners for Wind ResistanceNewsJun.05,2025
-
Modern Barbed Wire Fence Designs for Perimeter ProtectionNewsJun.05,2025
-
How Iron Nail Wire Enhances Nail Strength and Installation EfficiencyNewsJun.05,2025
-
High-Security Razor Fence Solutions for Perimeter ProtectionNewsJun.05,2025
-
Durable Wire Netting Fence Solutions for Animal EnclosuresNewsJun.05,2025


