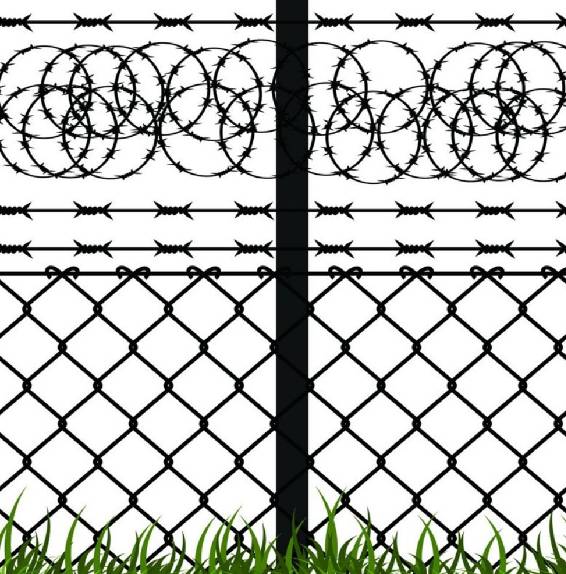
high tensile barbed wire installation
Installation of High Tensile Barbed Wire A Comprehensive Guide
High tensile barbed wire is a popular choice for securing perimeters due to its effectiveness, durability, and affordability. Whether you’re securing agricultural land, constructing a residential fence, or enhancing security around a commercial property, understanding the proper installation techniques can ensure that your barbed wire fence not only performs well but also lasts for years. This article will guide you through the essential steps involved in installing high tensile barbed wire.
Materials Needed
Before starting the installation, gather the necessary materials. You will require
1. High tensile barbed wire (typically available in coils), 2. Fence posts (wooden or metal), 3. Post hole digger or auger, 4. Concrete mix (optional, for added stability), 5. Wire cutters, 6. Fencing pliers, 7. Tensioning tools, 8. Protective gloves.
Step 1 Planning Your Fence Line
Begin by determining the layout of your fence. Use stakes and string to outline the desired perimeter, ensuring that corners and gates are appropriately marked. This initial planning phase is crucial for a straight and effective installation.
Step 2 Selecting and Installing Fence Posts
Space your fence posts about 8 to 12 feet apart, depending on the terrain and the weight of the barbed wire. For additional stability, particularly in areas prone to high winds or heavy wildlife, consider using heavier posts or decreasing the spacing between them.
Dig holes for the posts that are at least 24 inches deep, ensuring they are placed vertically. If using wooden posts, treat them with a preservative to prevent decay. Once the posts are in place, you can use concrete to secure them. Allow the concrete to cure for at least 24 hours before proceeding.
Step 3 Unrolling and Aligning the Barbed Wire
Carefully unroll the high tensile barbed wire along the line marked by your stakes. It’s essential to maintain tension in the wire to prevent sagging. You can start with the bottom strand and gradually work your way up to the desired height (typically 3 to 5 strands).
high tensile barbed wire installation

As you pull out the wire, avoid tangling and damage by handling it gently
.Step 4 Attaching the Barbed Wire
Using fencing pliers, attach the barbed wire to the posts. Begin at one end and wrap the barbed wire around the first post, securing it tightly. Make sure to use a tight enough grip to ensure that the wire doesn’t slip.
Follow the same process for each post along the fence line. When reaching an end post, secure the wire tightly, ensuring it doesn’t come loose over time.
Step 5 Tensioning the Wire
To ensure the longevity and effectiveness of your fence, tension the barbed wire after it has been secured to all posts. Use a tensioning tool to pull the wire taut, which will minimize sagging and maintain the integrity of the fence.
Be careful not to over-tighten, as this can lead to breakage or damage to the posts.
Step 6 Finishing Touches
Once the barbed wire is tensioned, trim any excess wire with wire cutters. Ensure that all connections and knots are secure, and check for any sharp protrusions that could pose a safety hazard.
Finally, walk along the fence to inspect for any weak spots or sagging sections before considering the installation complete.
Conclusion
Installing high tensile barbed wire may seem like a daunting task, but by following these steps, you can create a secure, effective barrier. This durable fencing option not only enhances security but also deters unwanted intrusions, making it an ideal choice for various applications. By investing time and effort into the installation process, you ensure a long-lasting solution that meets your fencing needs.
-
Space-Saving Chain Fence Hacks Vertical Gardening with Cyclone MeshNewsJul.16,2025
-
Innovations in Iron Nail Wire Production for Modern ConstructionNewsJul.16,2025
-
Creative Uses of Wire Netting Fence in Modern Landscape DesignNewsJul.16,2025
-
Barbed Wire Fence Innovations in Anti-Climb TechnologyNewsJul.16,2025
-
Architectural Uses of Umbrella Nails for Aesthetic Roof DesignsNewsJul.16,2025
-
Architectural Uses of Razor Barbed Wire in Secure Urban DesignNewsJul.16,2025


