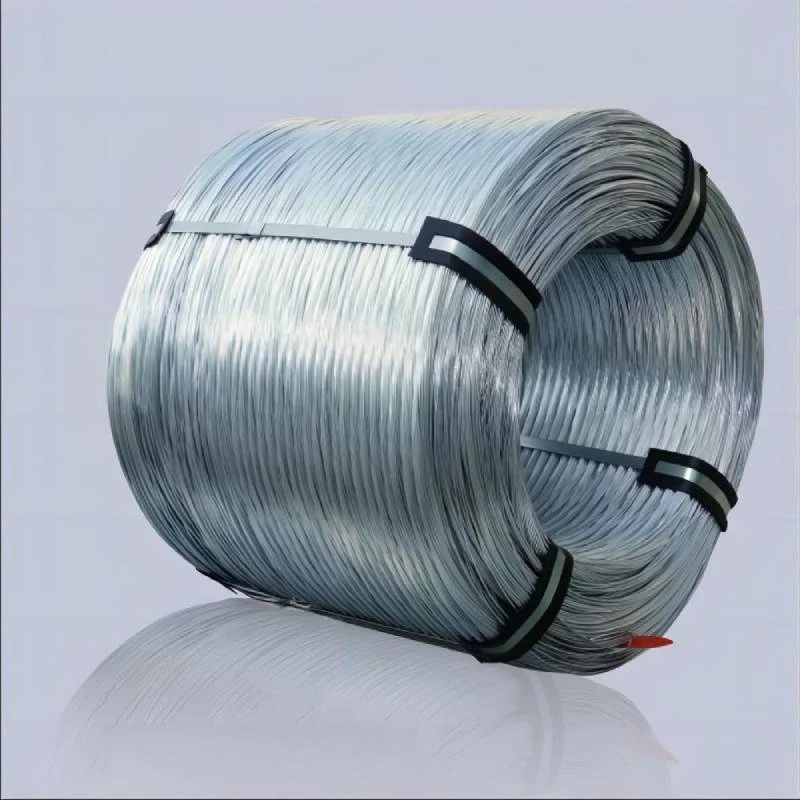
Installing Fencing Mesh for Garden Protection and Poultry Enclosure Setup
Installing Chicken Wire A Step-by-Step Guide
Chicken wire, also known as poultry netting, is a versatile and effective fencing solution commonly used in gardens and farms. It is particularly beneficial for keeping small animals out while allowing sunlight and air to pass through. Whether you are looking to protect your garden from rabbits and deer, create a secure area for your chickens, or establish a barrier for any other small livestock, installing chicken wire is a straightforward task that can significantly enhance your outdoor space. In this article, we will provide you with a comprehensive guide on how to install chicken wire effectively.
Tools and Materials Needed
Before you begin, gather all necessary tools and materials to ensure a smooth installation process. Here’s what you’ll need
- Chicken wire (the length will depend on your project) - Fence posts (wooden or metal, depending on your preference) - Wire cutters - Fence staples or zip ties - Hammer or nail gun - Measuring tape - Level (optional, but helpful for maintaining straight lines) - A pair of gloves (to protect your hands)
Step 1 Planning Your Fence
Start by deciding the area you wish to enclose. It's crucial to measure and mark the boundaries of the fenced area accurately. Use stakes and string to outline where your fence will go. This visual guide helps ensure you have a clear plan before moving forward. Additionally, consider the height of the chicken wire; most are available in heights of 3 to 6 feet, and the chosen height will depend on the animals you are trying to keep out or in.
Step 2 Installing Fence Posts
Next, it's time to install the fence posts. The posts should be placed at intervals of 6 to 8 feet apart. If you’re using wooden posts, make sure to dig post holes that are at least 2 feet deep for stability. If you’re using metal posts, drive them firmly into the ground using a hammer or mallet. Once your posts are in place, check to ensure they are level and straight before proceeding. If necessary, fill the holes with concrete to secure the posts firmly.
installing chicken wire

Step 3 Unrolling and Attaching Chicken Wire
After securing the posts, unroll the chicken wire along the fence line. Start at one end and gradually work your way to the other. It’s helpful to lay the chicken wire flat on the ground first to allow it to relax, making it easier to attach. Begin attaching the chicken wire to the posts using fence staples or zip ties. If using staples, hammer them into the wood posts at intervals of about 12 inches. For metal posts, zip ties are often the most secure option and can be tightened easily.
Step 4 Securing the Bottom
To prevent animals from digging under the chicken wire, it’s essential to secure the bottom of the fence. You can achieve this by burying the bottom edge of the wire at least 6 inches into the ground or by placing flat stones or bricks along the bottom. This extra precaution will help keep out burrowing animals.
Step 5 Finishing Touches
Once the chicken wire is attached and secured, take a step back to review your work. Ensure that the fence is straight and that there are no gaps or loose areas where small animals could enter or escape. Cut away any excess chicken wire with wire cutters and tuck in sharp edges to avoid injuries.
Conclusion
Installing chicken wire is a practical and efficient way to protect your garden and livestock. With careful planning and a bit of physical labor, you can create a durable enclosure that serves multiple purposes. Remember to check the condition of your chicken wire fence regularly, making repairs as needed to maintain its effectiveness. Happy fencing!
-
Space-Saving Chain Fence Hacks Vertical Gardening with Cyclone MeshNewsJul.16,2025
-
Innovations in Iron Nail Wire Production for Modern ConstructionNewsJul.16,2025
-
Creative Uses of Wire Netting Fence in Modern Landscape DesignNewsJul.16,2025
-
Barbed Wire Fence Innovations in Anti-Climb TechnologyNewsJul.16,2025
-
Architectural Uses of Umbrella Nails for Aesthetic Roof DesignsNewsJul.16,2025
-
Architectural Uses of Razor Barbed Wire in Secure Urban DesignNewsJul.16,2025


