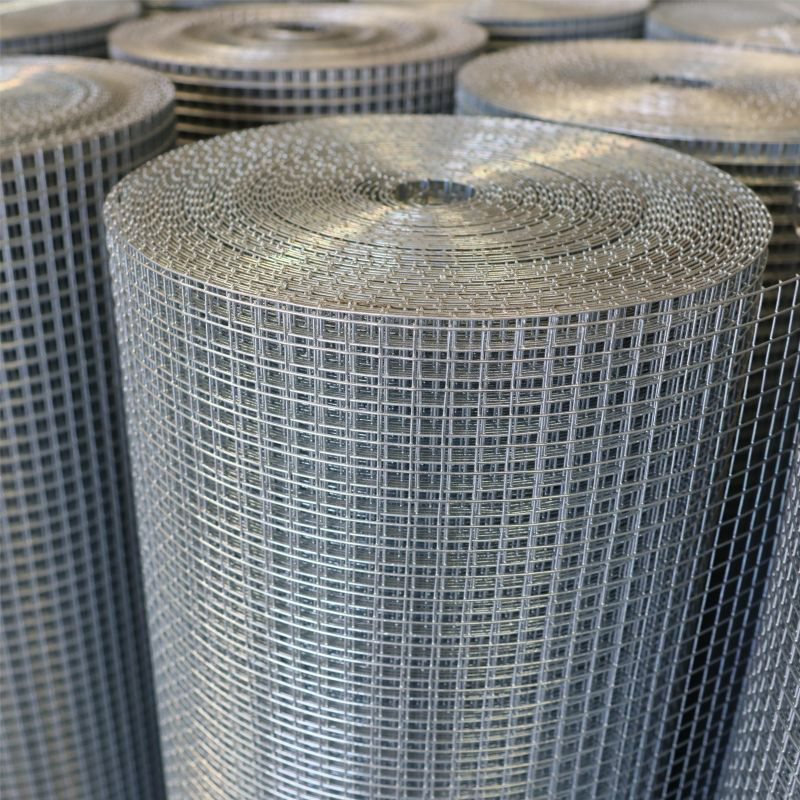
How to Properly Install Wire Mesh Fencing for Your Property
Installing Wire Mesh Fence A Comprehensive Guide
Wire mesh fences are a popular choice for homeowners and businesses alike due to their durability, versatility, and relatively low cost. Whether you want to keep pets contained, protect a garden, or outline the boundaries of your property, a wire mesh fence can serve a variety of purposes. This guide will walk you through the process of installing a wire mesh fence, ensuring that you get the job done right.
Materials Needed
Before starting, gather all necessary materials. Here’s a list of what you will need
1. Wire Mesh Fencing Choose the appropriate gauge and height. 2. Fence Posts Use sturdy materials like galvanized steel or treated wood. 3. Concrete Mix For securing the posts. 4. Fence Post Caps Optional, but can help prevent water damage. 5. Galvanized Nails or Staples For securing the wire mesh to the posts. 6. Tools You will need a post hole digger, a level, a hammer, and a measuring tape. 7. Safety Gear Always wear gloves and safety glasses while working.
Planning Your Fence
Before jumping into the installation, plan your fence layout. Measure your property line to determine how much fencing you will need. Consider any obstacles such as trees or other structures that may interfere with the installation.
Also, check local zoning laws and regulations regarding fence height and placement. Some areas require permits for fence installation, so it’s essential to do your homework to avoid any legal issues later.
Preparing the Ground
Once you have your materials and a plan, it’s time to prepare the ground. Clear the area where the fence will go. Remove any weeds, debris, or rocks that might hinder the installation. You want a clear and level area for your fence.
Digging Post Holes
installing wire mesh fence

Using your post hole digger, dig holes for your fence posts at intervals of about 6 to 8 feet. The depth of the holes will depend on the height of your fence, but typically, they should be at least one-third of the overall post height. Ensure that the holes are deep enough to provide stability for the posts.
Setting the Posts
Place the fence posts in the holes and use a level to ensure they are straight. Fill the holes with concrete mix according to the manufacturer's instructions. It may take a couple of days for the concrete to fully cure, so be patient. Once cured, you will have a solid foundation for your wire mesh.
Attaching the Wire Mesh
With the posts securely in place, it’s time to attach the wire mesh fencing. Start at one end of the fence line, rolling out the wire mesh while keeping it taut. Use galvanized nails or staples to secure the wire to each post. Be diligent about checking the level as you go, making sure there are no dips or bends in the fence.
Adding Finishing Touches
After the wire mesh is attached, consider installing fence post caps to protect the tops of the posts from weather damage. You can also paint or stain wooden posts for added protection and aesthetic appeal.
Maintenance Tips
Wire mesh fences generally require little maintenance, but occasional checks are wise. Inspect for any signs of rust or damage, especially if your fence is made of metal. Tighten or replace any loose or damaged wires to maintain the integrity of the fence.
Conclusion
Installing a wire mesh fence is a practical project that can enhance the security and appearance of your property. By following these steps and planning ahead, you can successfully put up a fence that meets your needs while providing a safe space for pets and children. Whether it's for keeping critters out or marking property boundaries, a wire mesh fence is a reliable and affordable solution. Happy fencing!
-
Space-Saving Chain Fence Hacks Vertical Gardening with Cyclone MeshNewsJul.16,2025
-
Innovations in Iron Nail Wire Production for Modern ConstructionNewsJul.16,2025
-
Creative Uses of Wire Netting Fence in Modern Landscape DesignNewsJul.16,2025
-
Barbed Wire Fence Innovations in Anti-Climb TechnologyNewsJul.16,2025
-
Architectural Uses of Umbrella Nails for Aesthetic Roof DesignsNewsJul.16,2025
-
Architectural Uses of Razor Barbed Wire in Secure Urban DesignNewsJul.16,2025


