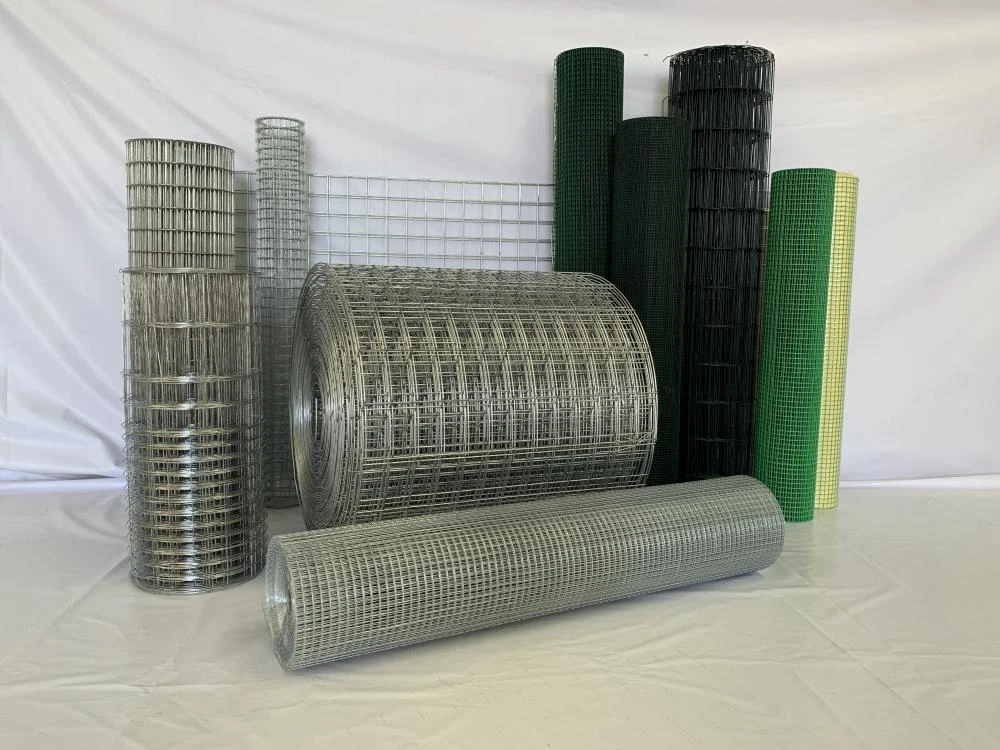
building a chain link fence
Building a chain link fence can be a straightforward yet rewarding project for homeowners looking to enhance their property’s security and privacy. Below is an informative guide that outlines the essential steps involved in constructing a chain link fence.
Planning Your Fence
Before diving into the physical work, proper planning is crucial. Begin by determining the purpose of the fence. Is it for security, to keep pets contained, or to mark property boundaries? Depending on the objective, the height and gauge of the chain links may vary. Next, it's important to check local zoning laws and homeowners' association rules regarding fence installation to avoid potential fines or necessary adjustments later.
Once you have the permissions, measure the area where the fence will be installed. Make sure to outline your property line carefully and mark the corners of the fence with stakes. Use string to create a visual boundary, ensuring the fence lines up straight.
Gathering Materials
Once the planning phase is complete, gather the necessary materials. For a chain link fence, you will need - Chain link fabric (the actual fencing material) - Steel posts (terminal posts for corners and line posts) - Top rail - Tension wire - Fence ties - Concrete mix (for securing the posts) - Tools like a post-hole digger, level, and drill
Installation Process
building a chain link fence

1. Setting Up the Posts Begin by digging holes for the posts at the marked corners. The depth of the holes should be about a third of the post length to ensure stability. Typically, posts should be spaced about 10 feet apart. Insert the posts in their respective holes, level them, and secure them with concrete. Allow the concrete to cure as per the manufacturer’s instructions.
2. Installing the Top Rail Once the posts are secure, attach the top rail, which will help maintain the integrity and shape of the fence. Connect the rail to each post using the appropriate fittings.
3. Hanging the Chain Link Fabric With the top rail in place, it's time to attach the chain link fabric. Start at one end, unrolling the fabric and attaching it to the terminal post with fence ties. Stretch the fabric tautly between the posts, using the level to keep everything aligned, and secure it with ties along the length.
4. Adding Tension Wire Finally, to add strength and stability, attach tension wire at the bottom of the chain link fabric. This will help prevent sagging and provide additional support against pets or other animals attempting to dig under.
Maintenance
After installation, routine maintenance will keep your chain link fence looking great and functioning well. Regularly inspect for rust, loose connections, or any damage that may occur over time. Consider painting the fence with a rust-resistant coating to prolong its life.
Building a chain link fence may seem daunting, but with careful planning and execution, you’ll enhance your property while gaining a sense of accomplishment. Whether for security, aesthetics, or practicality, a chain link fence can serve multiple purposes for your home.
-
Weather Resistance of Woven Wire and Chicken Wire Fencing MaterialsNewsJun.05,2025
-
Umbrella Nails Innovations in Roofing Fasteners for Wind ResistanceNewsJun.05,2025
-
Modern Barbed Wire Fence Designs for Perimeter ProtectionNewsJun.05,2025
-
How Iron Nail Wire Enhances Nail Strength and Installation EfficiencyNewsJun.05,2025
-
High-Security Razor Fence Solutions for Perimeter ProtectionNewsJun.05,2025
-
Durable Wire Netting Fence Solutions for Animal EnclosuresNewsJun.05,2025


