Guidelines for Efficient Installation of Barbed Wire Fences for Enhanced Security and Durability
Installing Barbed Wire Fences A Comprehensive Guide
Barbed wire fences have been a staple in agricultural and security applications for decades. Known for their strength and effectiveness in containing livestock and deterring intruders, these fences offer both practicality and durability. If you are considering installing a barbed wire fence, understanding the essential steps and considerations will ensure a successful outcome.
Materials Needed
Before beginning your installation, gather all necessary materials. You will need
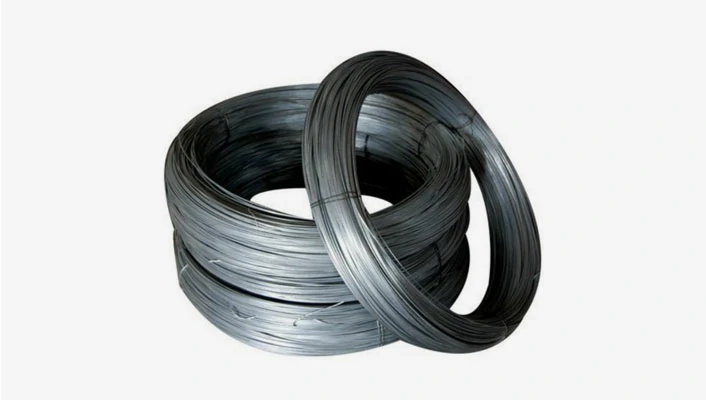
1. Barbed Wire Typically sold in rolls, it comes in various gauges. Choose a gauge that suits your needs; heavier gauge wire is stronger but also more difficult to work with. 2. Fence Posts Most commonly made of wood, metal, or vinyl. Wooden posts need to be treated to resist rot, while metal posts provide enhanced durability. 3. Tension Wire This wire is used to maintain the tension of the barbed wire. 4. Insulators If installing near electrical components, insulators protect wires from contact with the posts. 5. Gates If your fence needs a gate, ensure it is appropriately sized for your access requirements. 6. Tools Essential tools include wire stretchers, post hole diggers, a level, a hammer, staples or ties, and a fence pliers.
Planning Your Fence Line
The first step in installation involves careful planning. Determine the location for your fence by marking the corners and gates. You can use stakes and string to outline the path of the fence. Make sure to check local regulations regarding fence placements and potential property lines to avoid disputes with neighbors.
Installing Fence Posts
Once the line is marked, it’s time to install your fence posts. Begin by digging holes for the posts at regular intervals, usually 8 to 12 feet apart, depending on the terrain and the purpose of the fence. The depth of the holes should be at least one-third the height of the posts to ensure stability. Place the posts in the holes, using a level to ensure they are straight, and fill the holes with dirt or concrete to secure them firmly.
barbed wire fence installation

Attaching Barbed Wire
With your posts installed, you can now begin to attach the barbed wire. Start by unwinding the barbed wire roll and pulling it tight between the end posts. Use a wire stretcher to maintain tension as you work. Once the wire is in place, begin securing it to the posts using wire staples or ties, leaving enough space between the strands (typically 4-6 inches) to deter animals or intruders.
Tensioning the Wire
Proper tensioning of the barbed wire is crucial for the effectiveness of your fence. After securing the wire to the posts, use a wire tensioner to ensure it’s taut. This will minimize sagging and maintain the integrity of the fence over time. Be cautious while handling the barbed wire; wear gloves to protect against cuts.
Final Touches
After installing the barbed wire, check for any loose areas and adjust as necessary. Inspect each post to ensure they are firmly set and that the barbed wire is tightly secured. If you are including gates, install them last to allow easy access while maintaining a tight seal when closed.
Conclusion
Installing a barbed wire fence can be a rewarding DIY project that adds value and security to your property. By following these steps and ensuring proper materials and tools are at hand, you can create a durable and effective barrier. Always prioritize safety during installation, and enjoy the peace of mind that comes with your newly established fence.
-
Space-Saving Chain Fence Hacks Vertical Gardening with Cyclone MeshNewsJul.16,2025
-
Innovations in Iron Nail Wire Production for Modern ConstructionNewsJul.16,2025
-
Creative Uses of Wire Netting Fence in Modern Landscape DesignNewsJul.16,2025
-
Barbed Wire Fence Innovations in Anti-Climb TechnologyNewsJul.16,2025
-
Architectural Uses of Umbrella Nails for Aesthetic Roof DesignsNewsJul.16,2025
-
Architectural Uses of Razor Barbed Wire in Secure Urban DesignNewsJul.16,2025


