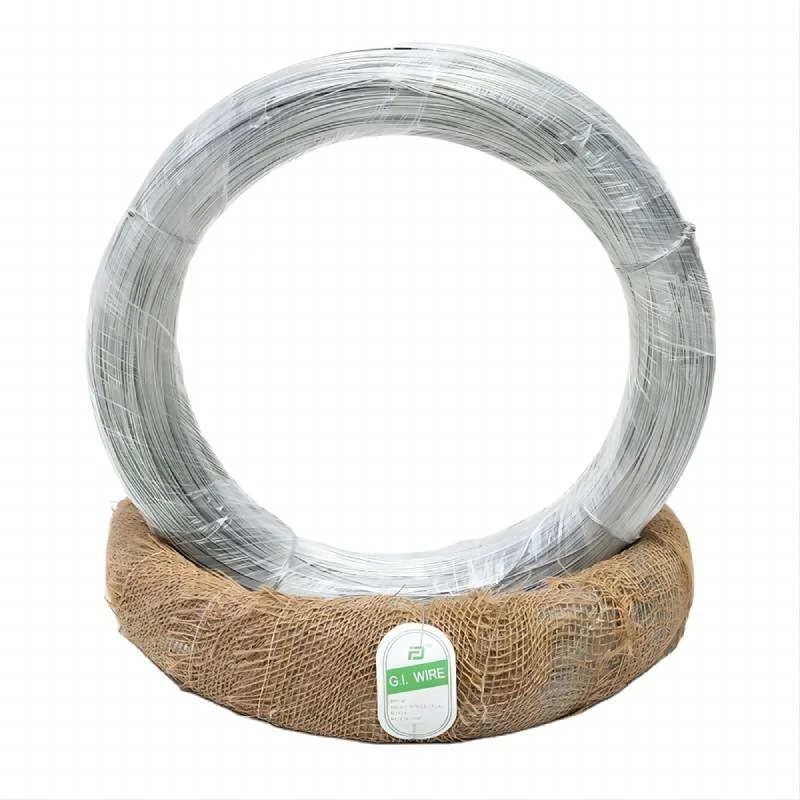
how to bend welded wire mesh
How to Bend Welded Wire Mesh A Step-by-Step Guide
Welded wire mesh is a versatile material widely used in construction, landscaping, fencing, and various DIY projects. Its durability and strength make it ideal for countless applications, but bending it can be a bit tricky if you're unfamiliar with the process. In this article, we'll guide you through the steps of bending welded wire mesh effectively and safely.
Understanding Welded Wire Mesh
Before diving into the bending process, it’s important to understand what welded wire mesh is. It consists of a grid of steel wires that are welded together at intersections. This provides a robust structure capable of supporting substantial loads, making it perfect for reinforcement, barriers, cages, and more. However, bending it requires some skill and the right tools to avoid damage.
Tools and Materials Required
To bend welded wire mesh, you will need
1. Welded Wire Mesh Choose the appropriate size and gauge based on your project requirements. 2. Cutting Tool Wire cutters or bolt cutters to trim the mesh if necessary. 3. Bending Tool Depending on the thickness of the wire, you might need a pipe bender or a manual bending jig. For lighter gauges, a heavy-duty pair of pliers may suffice. 4. Protective Gear Gloves and safety goggles to protect yourself from sharp edges and flying debris. 5. Measuring Tape For accurate measurements. 6. Markers To mark your bending points on the mesh.
Step-by-Step Process
1. Planning and Measurement Start by determining the angle and length of the bend you require. Use a measuring tape to mark where the bend will occur on the wire mesh. Ensure you take precise measurements, as inaccuracies can lead to complications later on.
how to bend welded wire mesh

2. Cutting the Wire Mesh If your welded wire mesh is larger than necessary, use wire cutters to trim it down to size. Make sure to cut as close to the welds as possible for a cleaner edge. After cutting, smooth any sharp edges with a file to prevent injury.
3. Marking the Bend Using a marker, clearly mark your bending points. This is crucial to ensure your bends are uniform and consistent throughout the mesh.
4. Prepare for Bending Depending on the thickness of the wire, choose your bending tool. For thicker gauges, a pipe bender may be required. If it's lighter wire, a pair of pliers might suffice. Make sure your bending area is clear of obstacles to avoid accidents.
5. Bending the Wire Mesh - For Manual Bending Place the mesh on a flat surface. Use your hands or pliers to grip the wire at the marked points and apply steady pressure to bend it gradually to the desired angle. - Using a Bender For significant bends, position the wire in your bending jig or pipe bender, aligning it with the designated marks. Gradually apply force to bend the wire evenly. It’s important not to rush this step to avoid kinks or breaks.
6. Finishing Touches Once you've achieved the desired bends, inspect the mesh for any sharp edges and smooth them out if necessary. If you’ve cut the mesh, ensure that the ends are not protruding awkwardly and are safe to handle.
7. Cleaning Up After the bending process, clean up your working area and safely dispose of any wire scraps or debris. Store your tools properly for future use.
Conclusion
Bending welded wire mesh can seem intimidating initially, but with the right tools and a careful approach, it becomes a manageable task. Whether you're reinforcing a structure, creating custom fencing, or embarking on an arts and crafts project, knowing how to bend this material can greatly enhance your DIY skills. Always remember to prioritize safety and take your time to ensure that the bends are executed cleanly. With practice, you’ll become proficient in bending welded wire mesh and confident in many related projects. Happy bending!
-
Space-Saving Chain Fence Hacks Vertical Gardening with Cyclone MeshNewsJul.16,2025
-
Innovations in Iron Nail Wire Production for Modern ConstructionNewsJul.16,2025
-
Creative Uses of Wire Netting Fence in Modern Landscape DesignNewsJul.16,2025
-
Barbed Wire Fence Innovations in Anti-Climb TechnologyNewsJul.16,2025
-
Architectural Uses of Umbrella Nails for Aesthetic Roof DesignsNewsJul.16,2025
-
Architectural Uses of Razor Barbed Wire in Secure Urban DesignNewsJul.16,2025


