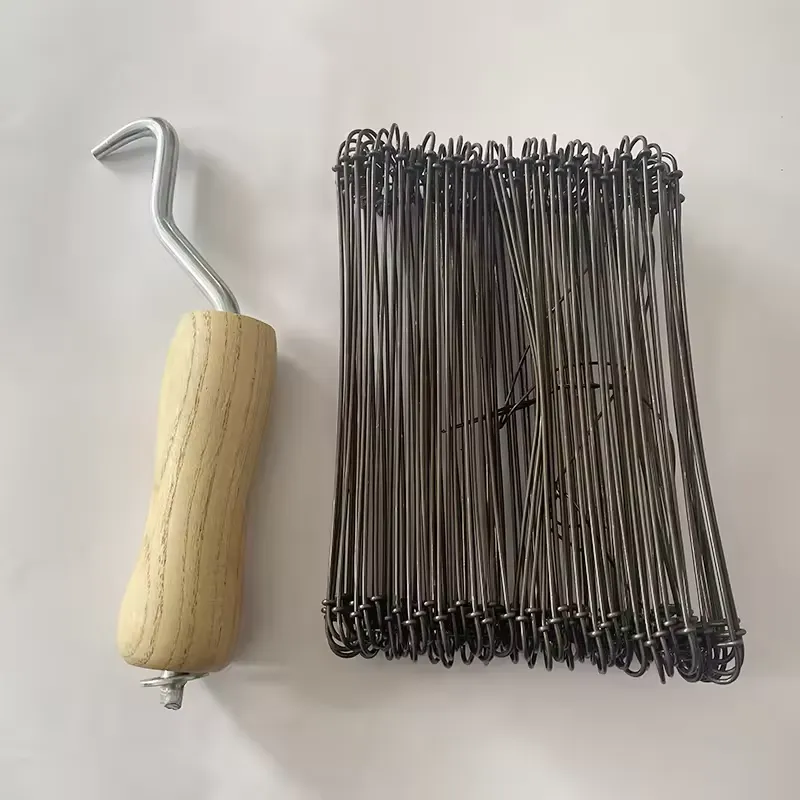
installing chicken wire fence
Installing Chicken Wire Fence A Comprehensive Guide
When it comes to keeping chickens safe and secure, installing a chicken wire fence is one of the most effective ways to do so. Not only does it protect your feathered friends from potential predators, but it also keeps them from wandering off and getting lost. This guide will walk you through the steps of installing a chicken wire fence, ensuring that your flock remains safe and happy.
Step 1 Planning Your Fence
Before you start digging holes or hammering posts, it’s essential to plan your fence layout. Determine the size of the area you want to enclose and how many chickens you have. A basic rule of thumb is to allow at least 10 square feet of space per chicken to ensure they have enough room to roam and forage.
Next, decide on the type of fence that works best for your needs. Chicken wire is the most popular choice due to its affordability and ease of installation. However, if predators in your area are particularly aggressive, you might want to consider using hardware cloth instead, as it offers more strength and durability.
Step 2 Gathering Materials
Once you have a clear plan, it’s time to gather your materials. Here’s a list of what you’ll need
- Chicken wire or hardware cloth (depending on your choice) - Wooden or metal fence posts, which should be sturdy enough to withstand weather elements and animal pressure - Posthole digger or auger - Galvanized wire or fencing staples - Wire cutters - Hammer or staple gun (for fastening the chicken wire) - Measuring tape - Level
Step 3 Installing the Fence Posts
After gathering your materials, mark the locations where you will install the fence posts. It’s generally recommended to place the posts about 6 to 8 feet apart. Use a posthole digger or auger to dig holes that are at least 2 feet deep for stability.
installing chicken wire fence

Once the holes are dug, place the posts inside and fill the holes with soil or concrete for added support. Make sure to use a level to check that each post is straight. Allow the concrete to set if you’ve used it, typically for at least 24 hours, to ensure maximum stability.
Step 4 Attaching the Chicken Wire
Once your posts are securely in place, it’s time to attach the chicken wire. Start at one end of the fenced area and unroll the chicken wire along the fence line. Cut the wire to the appropriate length, leaving a little extra for overlap at the corners.
To attach the chicken wire to the fence posts, use galvanized wire or fencing staples. If using staples, hammer them into the posts at regular intervals to ensure the wire remains taut. It’s crucial to keep the wire tight to prevent any gaps that could allow chickens to escape or predators to enter.
Step 5 Adding a Gate
An access point is essential for easy entry and care of your chickens. You can create a simple gate using additional wood or metal, attached with hinges. Ensure that the gate closes securely to prevent any chickens from escaping. A latch can provide added security by keeping the gate shut, particularly during the night when predators are most active.
Step 6 Final Inspection
After completing the installation, inspect your fence thoroughly. Look for any loose areas, gaps, or sharp edges that might pose a threat to your chickens. Make necessary adjustments to ensure the fence is as secure as possible.
Conclusion
Installing a chicken wire fence is a straightforward process that can greatly enhance the safety of your chickens. With proper planning and execution, you can create a secure environment for your flock to thrive. Remember to regularly check the integrity of the fence to maintain a safe haven for your chickens. Happy farming!
-
Space-Saving Chain Fence Hacks Vertical Gardening with Cyclone MeshNewsJul.16,2025
-
Innovations in Iron Nail Wire Production for Modern ConstructionNewsJul.16,2025
-
Creative Uses of Wire Netting Fence in Modern Landscape DesignNewsJul.16,2025
-
Barbed Wire Fence Innovations in Anti-Climb TechnologyNewsJul.16,2025
-
Architectural Uses of Umbrella Nails for Aesthetic Roof DesignsNewsJul.16,2025
-
Architectural Uses of Razor Barbed Wire in Secure Urban DesignNewsJul.16,2025


