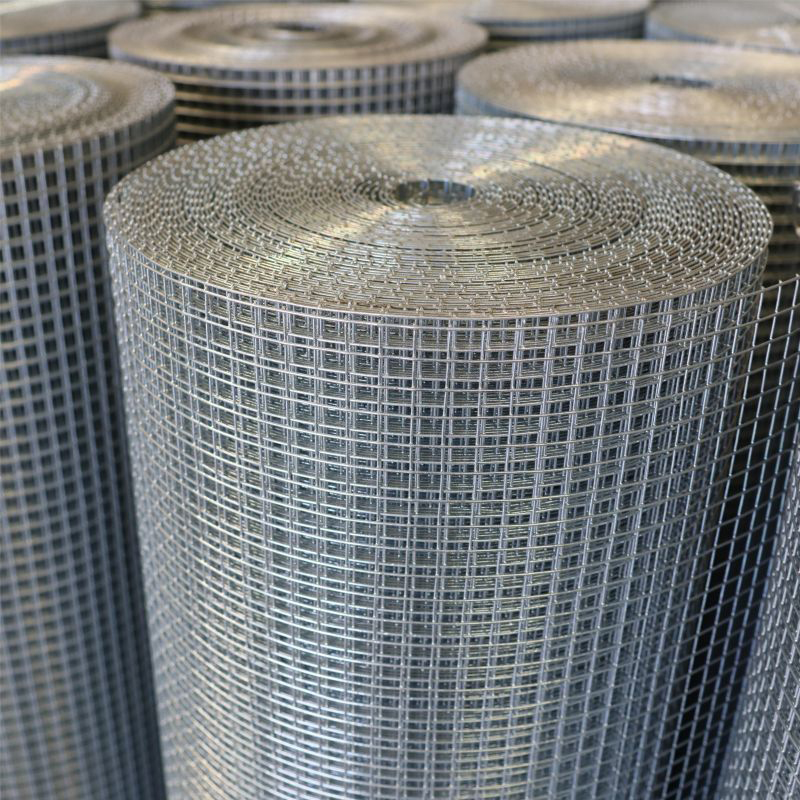
installing wire mesh fence
Installing Wire Mesh Fence A Comprehensive Guide
Wire mesh fencing is a practical and versatile solution for enclosing your property, enhancing security, and keeping pets and livestock safe. Whether you are looking to install a fence for agricultural purposes, to secure your garden, or to create a boundary around your home, wire mesh fencing offers durability and affordability. In this article, we will walk you through the essential steps for installing a wire mesh fence effectively.
Step 1 Planning Your Fence
Before installation begins, careful planning is crucial. Determine the purpose of the fence and the specific area you want to enclose. It's essential to measure the length of the perimeter to estimate how much wire mesh and other materials you will need. Additionally, check local regulations regarding fence installation, as some areas may have height restrictions or require permits.
Step 2 Gather Materials and Tools
To start, gather the necessary materials and tools. The primary components include
- Wire mesh rolls (choose the height and gauge according to your needs) - Fence posts (wood or metal, depending on preference) - Concrete for setting posts (optional, but recommended for durability) - Galvanized wire or ties to secure the mesh to the posts - Tools tape measure, post hole digger, level, hammer, and wire cutters
Step 3 Marking the Boundary
Once you have your materials ready, it’s time to mark the boundary where the fence will be installed. Use stakes and string to outline the fence line, ensuring the corners are square and the boundaries are clearly defined. This visual reference will guide you when digging post holes.
Step 4 Installing Fence Posts
installing wire mesh fence

The next step involves digging holes for your fence posts. A depth of at least 2 feet is recommended for stability, especially in windy areas. Space the posts about 6 to 8 feet apart, depending on the type of wire mesh you are using.
After digging the holes, place the posts into them, ensuring they are level and straight. You may choose to add concrete to the holes for added strength. Allow the concrete to set properly before continuing with the installation.
Step 5 Attaching the Wire Mesh
Once the posts are secured, unroll the wire mesh along the fence line. Begin at one end and attach the mesh to the first post using galvanized wire or ties. Pull the mesh tight as you move to the next post, ensuring there are no sagging areas. Secure the mesh to each post before cutting it to length. Take care to avoid sharp edges that could pose a safety hazard.
Step 6 Finishing Touches
After you have attached the wire mesh to all posts, inspect the entire fence for any loose areas. Tension the wire where necessary and make adjustments for a uniform appearance. If you have gates, install them according to the manufacturer’s instructions.
Finally, consider adding a protective coating to wooden posts for longevity or decorative elements to enhance the aesthetic appeal of your fence.
Conclusion
Installing a wire mesh fence can be a rewarding DIY project that enhances the safety and appearance of your property. By following these steps diligently and ensuring careful planning and execution, you can create a durable and functional enclosure that meets your needs. With the right materials and attention to detail, your fence can serve you well for many years to come. Happy fencing!
-
Space-Saving Chain Fence Hacks Vertical Gardening with Cyclone MeshNewsJul.16,2025
-
Innovations in Iron Nail Wire Production for Modern ConstructionNewsJul.16,2025
-
Creative Uses of Wire Netting Fence in Modern Landscape DesignNewsJul.16,2025
-
Barbed Wire Fence Innovations in Anti-Climb TechnologyNewsJul.16,2025
-
Architectural Uses of Umbrella Nails for Aesthetic Roof DesignsNewsJul.16,2025
-
Architectural Uses of Razor Barbed Wire in Secure Urban DesignNewsJul.16,2025


