How to Properly Install a Pool Fence for Safety and Security
Installing a Pool Fence A Comprehensive Guide
When it comes to ensuring safety around your swimming pool, installing a pool fence is one of the most effective measures you can take. Not only does it provide a barrier for young children and pets, preventing accidental drownings, but it also helps to keep your pool area looking organized and visually appealing. In this article, we will explore the essential steps and considerations involved in installing a pool fence.
Step 1 Understanding Local Regulations
Before you even pick up a tool, it's crucial to understand the local regulations regarding pool fencing. Different regions have specific codes that dictate the height, material, and even the design of pool fences. Be sure to check with your local government or homeowner's association to avoid any potential fines or the need for costly modifications later on.
Step 2 Choosing the Right Type of Fence
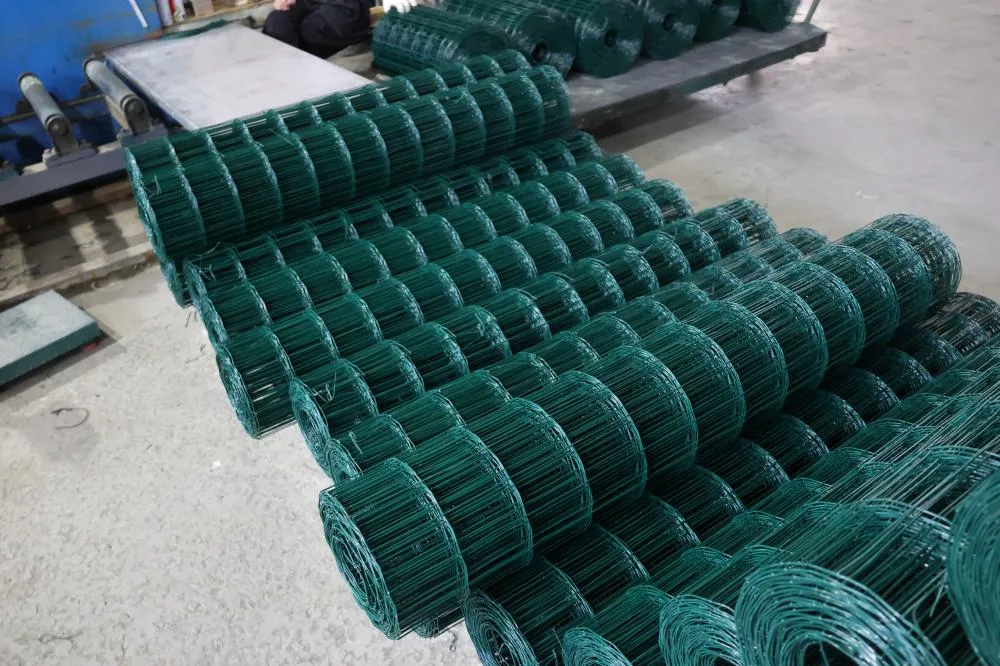
Pool fences come in various materials, including aluminum, vinyl, wood, and mesh. Each material has its own set of advantages and disadvantages. For instance, aluminum fences are durable and low maintenance, while mesh fences are often easier to install and provide visibility. Consider factors such as safety, aesthetic appeal, and maintenance when choosing the right type of fence for your pool area.
Step 3 Planning the Layout
Before beginning the installation, it's important to plan the layout of your pool fence. Decide on key factors, such as where the fence will start and end, and the location of any gates. The fence should enclose the entire swimming area, leaving no gaps that children or pets could slip through. Use stakes and string to mark the perimeter of the proposed fence to ensure a clear understanding of how it will fit into your landscape.
install pool fence

Step 4 Gather Necessary Tools and Materials
To install a pool fence, you will need several tools, including a post hole digger, level, drill, and measuring tape. Additionally, acquire all necessary materials, including the fence panels, posts, hinges for the gate, and any concrete needed for securing the posts. Having everything on hand before starting will streamline the installation process.
Step 5 Installing the Fence
Begin by digging holes for the fence posts, ensuring that they are deep enough to provide a stable foundation. Use concrete to secure the posts in place, allowing it to cure as per manufacturer instructions. Once the posts are set, attach the fence panels, ensuring that they are level and securely fastened. If you're installing a gate, ensure that it swings outward and is equipped with a self-closing mechanism for added safety.
Step 6 Final Inspection and Maintenance
After the installation is complete, conduct a thorough inspection to ensure that there are no gaps or weaknesses in the fence. Test the gate to ensure it closes and latches securely. Regular maintenance is essential to keep your pool fence in good condition. Check for rust (in the case of metal fences), rot (in wooden fences), and ensure that all latches and hinges are functioning correctly.
Conclusion
Installing a pool fence is a vital step in maintaining the safety of your swimming pool area. By understanding local regulations, choosing the right materials, planning meticulously, and performing regular maintenance, you can create a secure and inviting environment for family and friends to enjoy. Keep safety at the forefront, and your new pool fence will not only enhance your property’s appeal but also provide peace of mind for years to come.
-
Space-Saving Chain Fence Hacks Vertical Gardening with Cyclone MeshNewsJul.16,2025
-
Innovations in Iron Nail Wire Production for Modern ConstructionNewsJul.16,2025
-
Creative Uses of Wire Netting Fence in Modern Landscape DesignNewsJul.16,2025
-
Barbed Wire Fence Innovations in Anti-Climb TechnologyNewsJul.16,2025
-
Architectural Uses of Umbrella Nails for Aesthetic Roof DesignsNewsJul.16,2025
-
Architectural Uses of Razor Barbed Wire in Secure Urban DesignNewsJul.16,2025


