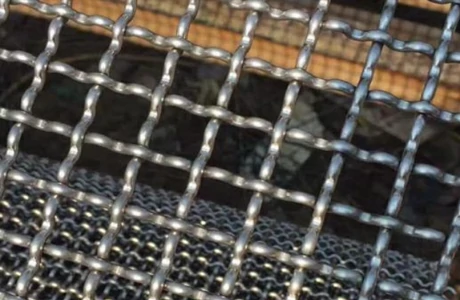
splicing woven wire fence
The Art of Splicing Woven Wire Fences
Woven wire fences have long been a popular choice for property boundaries, livestock enclosures, and gardens. Their durability and versatility make them ideal for various applications. However, the effectiveness and longevity of a woven wire fence can greatly depend on how well it is spliced, making the art of splicing an essential skill for anyone involved in fencing.
Understanding Woven Wire Fences
Before delving into splicing techniques, it is essential to understand what woven wire fences are made of. Typically constructed from galvanized steel or other durable materials, woven wire fences consist of vertical and horizontal wires that are intertwined to create a robust barrier. This design not only provides strength but also allows for flexibility, making them suitable for uneven terrain.
The Importance of Splicing
Splicing is the process of connecting two sections of woven wire fencing, which can occur due to various reasons. Damage from weather, animals, or human interference may necessitate repairs, and splicing is a practical solution. Proper splicing ensures that the fence maintains its integrity, effectively keeps livestock contained, and deters unwanted intruders.
Tools Needed for Splicing
To successfully splice woven wire fences, certain tools are essential. These typically include
1. Wire Cutters For cutting the wire cleanly where necessary. 2. Pliers To twist and secure the wire ends. 3. Fence Stretcher Helpful for tensioning the fence during the splicing process. 4. Protective Gear Gloves and safety glasses to protect against sharp wire ends and debris.
Step-by-Step Splicing Technique
splicing woven wire fence

1. Assess the Damage Begin by thoroughly examining the damaged area of the fence. Determine how many of the wires need to be connected and which specific sections require attention.
2. Prepare the Wire Ends Use wire cutters to trim any frayed or damaged wire ends. Ensure the ends are neat and clean to facilitate a better connection.
3. Align the Wires Position the wire ends next to each other, ensuring they are aligned properly. This alignment is crucial for maintaining the fence’s tension and appearance.
4. Twist the Wires Together Using pliers, take one wire from each end and twist them together. Make at least three to four tight twists to ensure a secure connection. Repeat this for all corresponding wires that need connection.
5. Tension the Fence If possible, use a fence stretcher to tension the fence evenly. This step is vital, as a taut fence will function much better in keeping livestock contained and looking presentable.
6. Secure and Trim Once the wires are spliced and the fence is tensioned, trim any excess wire that may pose a hazard. Double-check the integrity of the splices and ensure that all twisted wires are secure.
7. Test the Fence Finally, it’s important to inspect the entire fence line for any loose sections or potential weak points. Conduct a thorough walk-around, and test the strength of the splices, guaranteeing that they are robust and reliable.
Conclusion
Splicing woven wire fences is not just a practical necessity; it is an art that contributes to the efficiency and longevity of a fence. With the right tools and techniques, anyone can perform splicing with confidence. This skill not only enhances the functionality of the fence but also fosters a sense of accomplishment in maintaining your property. By mastering the art of splicing, you ensure that your woven wire fence stands strong against the elements, safeguarding your livestock and property for years to come.
-
Space-Saving Chain Fence Hacks Vertical Gardening with Cyclone MeshNewsJul.16,2025
-
Innovations in Iron Nail Wire Production for Modern ConstructionNewsJul.16,2025
-
Creative Uses of Wire Netting Fence in Modern Landscape DesignNewsJul.16,2025
-
Barbed Wire Fence Innovations in Anti-Climb TechnologyNewsJul.16,2025
-
Architectural Uses of Umbrella Nails for Aesthetic Roof DesignsNewsJul.16,2025
-
Architectural Uses of Razor Barbed Wire in Secure Urban DesignNewsJul.16,2025


