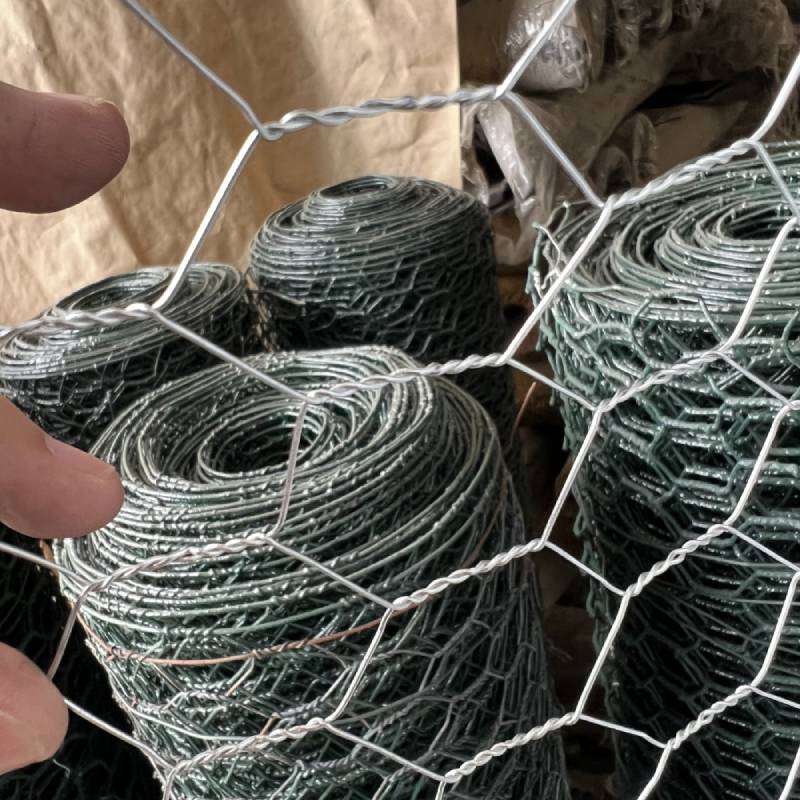
Steps to Construct a Durable Chain Link Fence for Your Property's Security and Style
Building a Chain Link Fence A Step-by-Step Guide
Building a chain link fence is a practical and cost-effective solution for securing your property while also providing visibility and airflow. Whether you wish to enhance the security of your yard, create a boundary for pets, or add an aesthetic element to your landscape, a chain link fence can meet your needs. This guide aims to provide you with a step-by-step overview of building a chain link fence.
Step 1 Planning and Gathering Materials
Before you start any project, it's crucial to plan. Determine the area where you would like to install the fence, and measure the perimeter accurately to ensure you order the right amount of materials. Basic tools and materials you will need include
- Chain link fabric - Fence posts (terminal and line posts) - Top rails - Tension wires - Concrete mix - Wire ties - Post hole digger - Level - Measuring tape - Fence puller tool (optional) - Safety gear (gloves, goggles)
Step 2 Marking the Layout
Once you’ve measured the area, mark the corners and gate openings with stakes and string. This visual outline will help you see where the fence will be installed. Make sure to check your local zoning laws and property boundaries to avoid disputes with neighbors.
Step 3 Installing the Fence Posts
The next step is to install the fence posts. Start by digging holes for the posts to a depth of about 2 feet to ensure stability. The distance between the posts typically ranges from 5 to 10 feet, depending on the height of your fence. Place the terminal posts (the ones at the corners and gate openings) first, ensuring they are level and plumb using a level tool. Pour concrete into the holes around the posts to secure them in place, allowing it to cure as per the manufacturer's instructions.
building a chain link fence

Step 4 Adding the Top Rail and Tension Wire
After the posts are set, it’s time to install the top rail. This rail runs parallel to the ground and connects all the line posts. Use a level to ensure it’s straight. Next, attach the tension wire along the bottom to provide extra support to the chain link fabric and prevent sagging.
Step 5 Installing the Chain Link Fabric
Now comes the main component of your fence the chain link fabric. Starting at one end, unroll the chain link fabric and stretch it towards the opposite end, using a fence puller tool if necessary to keep it taut. Attach the fabric to the posts using wire ties, which help secure the fabric without damaging it. Ensure that the fabric is level and taut throughout the entire length of the fence.
Step 6 Finishing Touches
Once the chain link fabric is secured, it’s essential to add a tension band to the terminal posts for additional stability. If you have a gate, install it following the manufacturer's guidelines to ensure it operates smoothly. Finally, inspect your work, ensuring that everything is secure and meets your expectations.
Conclusion
Building a chain link fence may seem like a daunting task, but by following these steps, anyone can achieve a sturdy and reliable fence that enhances their property. With the right materials and a little patience, you can create a boundary that not only keeps your pets and children safe but also adds value to your home. Remember to regularly inspect and maintain your fence to ensure its longevity and functionality.
-
Space-Saving Chain Fence Hacks Vertical Gardening with Cyclone MeshNewsJul.16,2025
-
Innovations in Iron Nail Wire Production for Modern ConstructionNewsJul.16,2025
-
Creative Uses of Wire Netting Fence in Modern Landscape DesignNewsJul.16,2025
-
Barbed Wire Fence Innovations in Anti-Climb TechnologyNewsJul.16,2025
-
Architectural Uses of Umbrella Nails for Aesthetic Roof DesignsNewsJul.16,2025
-
Architectural Uses of Razor Barbed Wire in Secure Urban DesignNewsJul.16,2025


